Documentation
Everything you need to set up, publish and manage your digital menu with MenuClick.
1Getting started
MenuClick turns your menu into a mobile-friendly web page that guests open by scanning a QR code — no app needed.
- Sign up with your email or continue with Google.
- Confirm your email address using the link we send you.
- From the dashboard, click "Add restaurant" and fill in the basic info.
- Open the menu editor, add sections and items, then publish.
- Download or print your QR code and place it on your tables.
2Creating a restaurant
A restaurant holds your business details, branding and one or more menus.
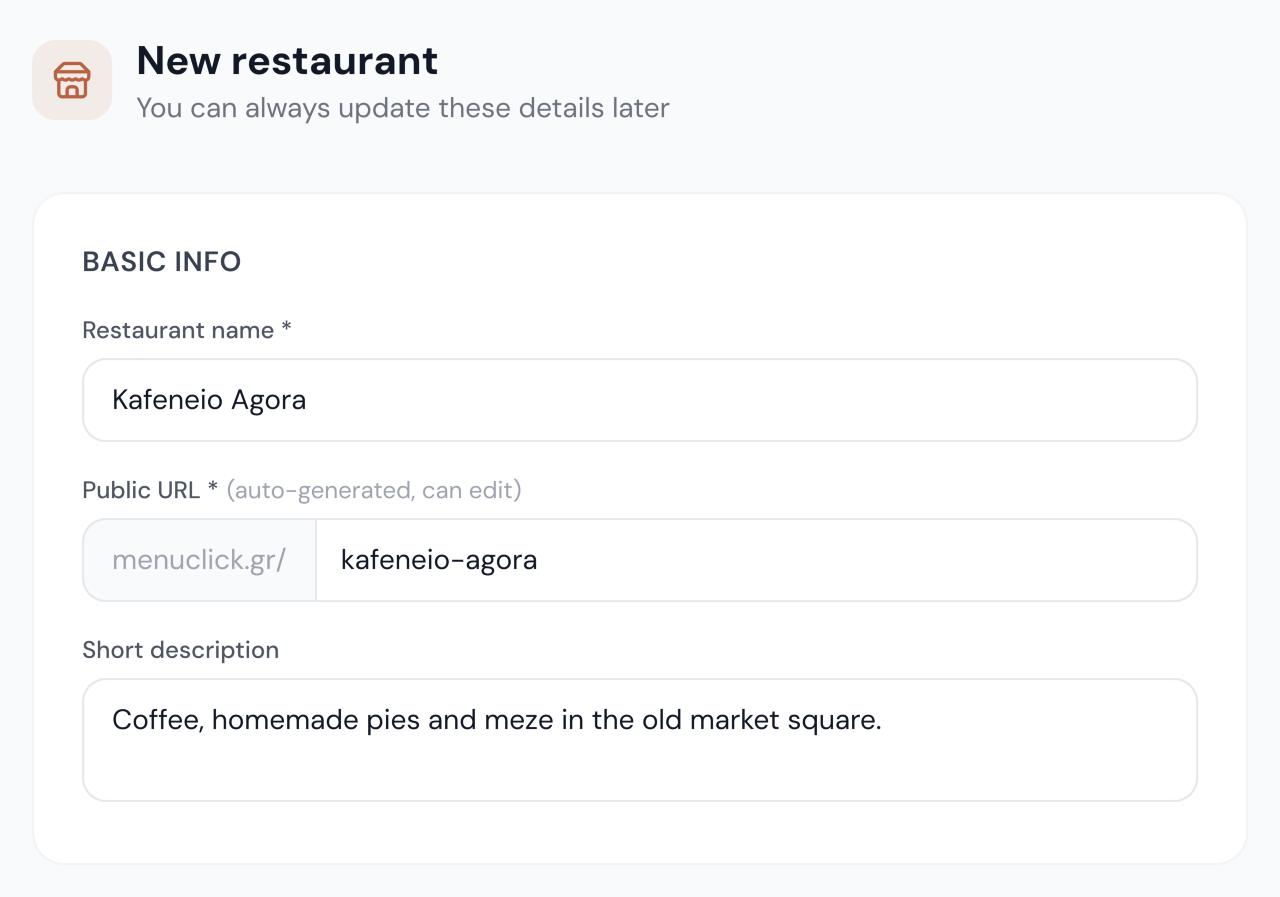
- Enter the restaurant name. The public URL (slug) is generated automatically — you can edit it before saving.
- Optionally add a short description, phone, email and address.
- Pick a primary and accent color to match your brand.
- Click "Create restaurant →". You can change every detail later from "Restaurant settings".
Tips
- Your public menu lives at menuclick.gr/your-slug. Choose something short and easy to type.
3Building your menu
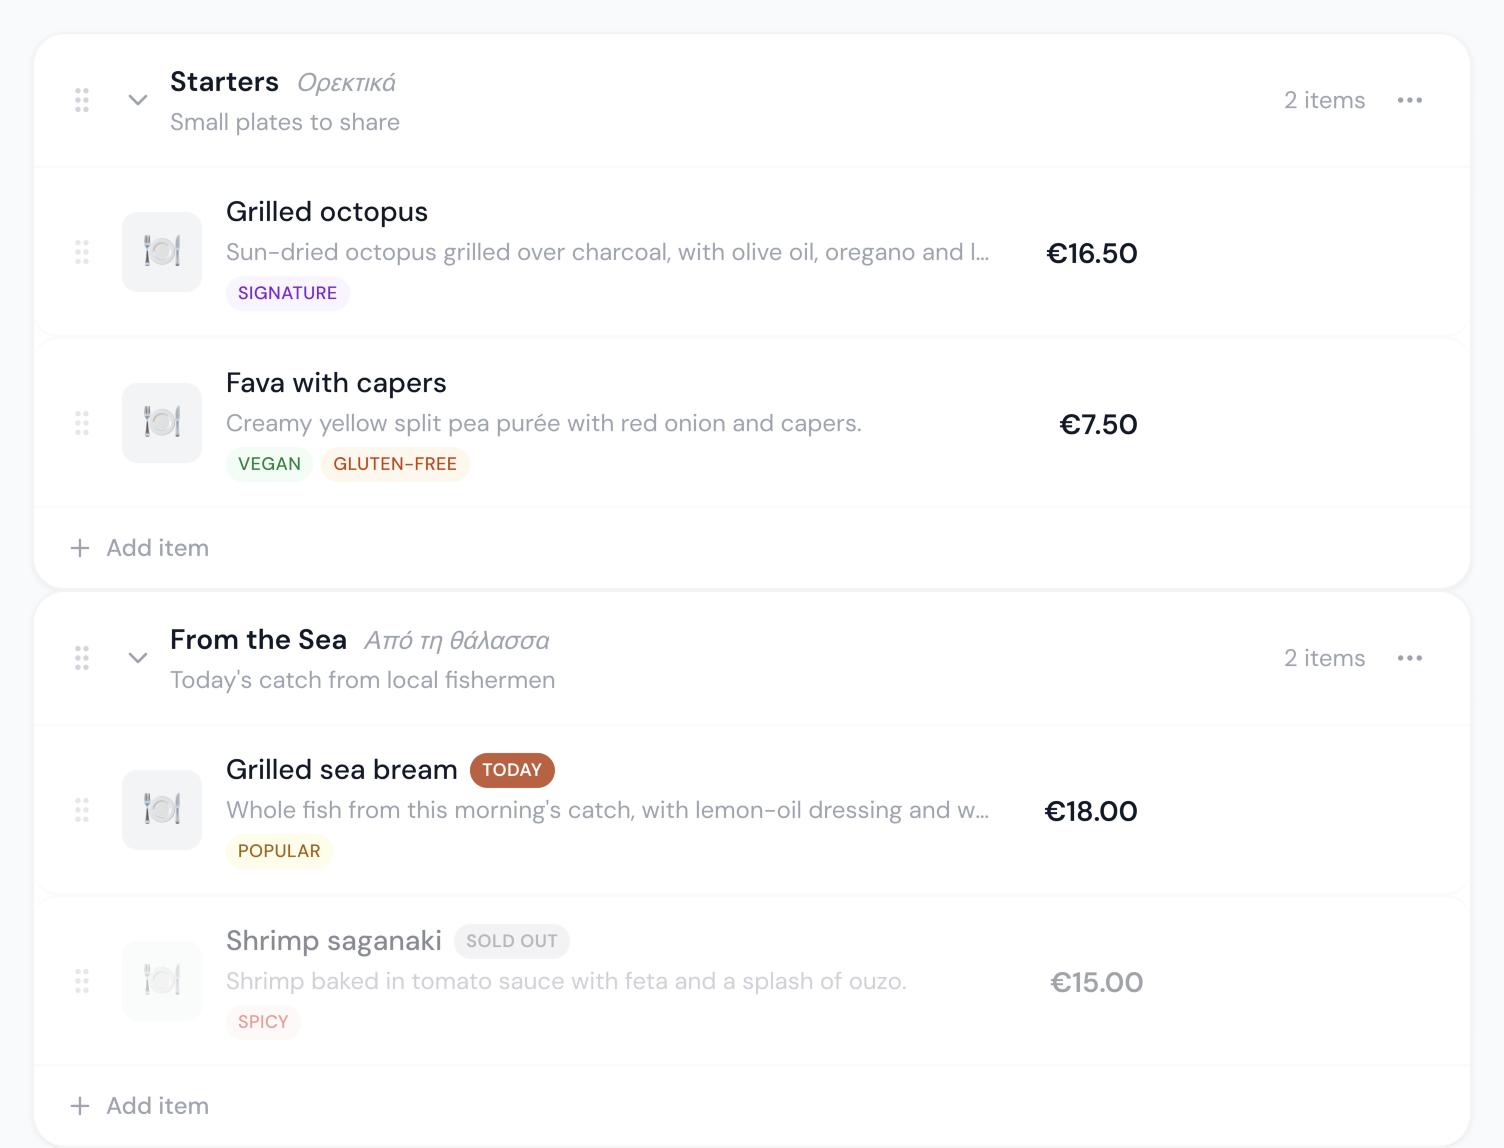
Menus are organised as Menu → Sections → Items.
- Menus appear as separate tabs for guests — e.g. "Lunch" and "Dinner". Use "Add menu" to create another one.
- Sections group your items — e.g. Starters, Mains, Drinks. Use "Add section" or pick a quick-add preset.
- Items are your dishes. Each item can have a name, secondary name, description, price, price note, image, calories, tags and a badge.
- Drag and drop sections and items to reorder them. The order is saved automatically.
Tips
- Use the secondary name for the dish name in another language, e.g. "Slow-cooked lamb" / "Αρνί κοκκινιστό".
- Tags such as Vegan, Vegetarian, Gluten-free and Spicy help guests filter at a glance.
4Sold out, featured & dish of the day
Change what guests see in real time, without reprinting anything.
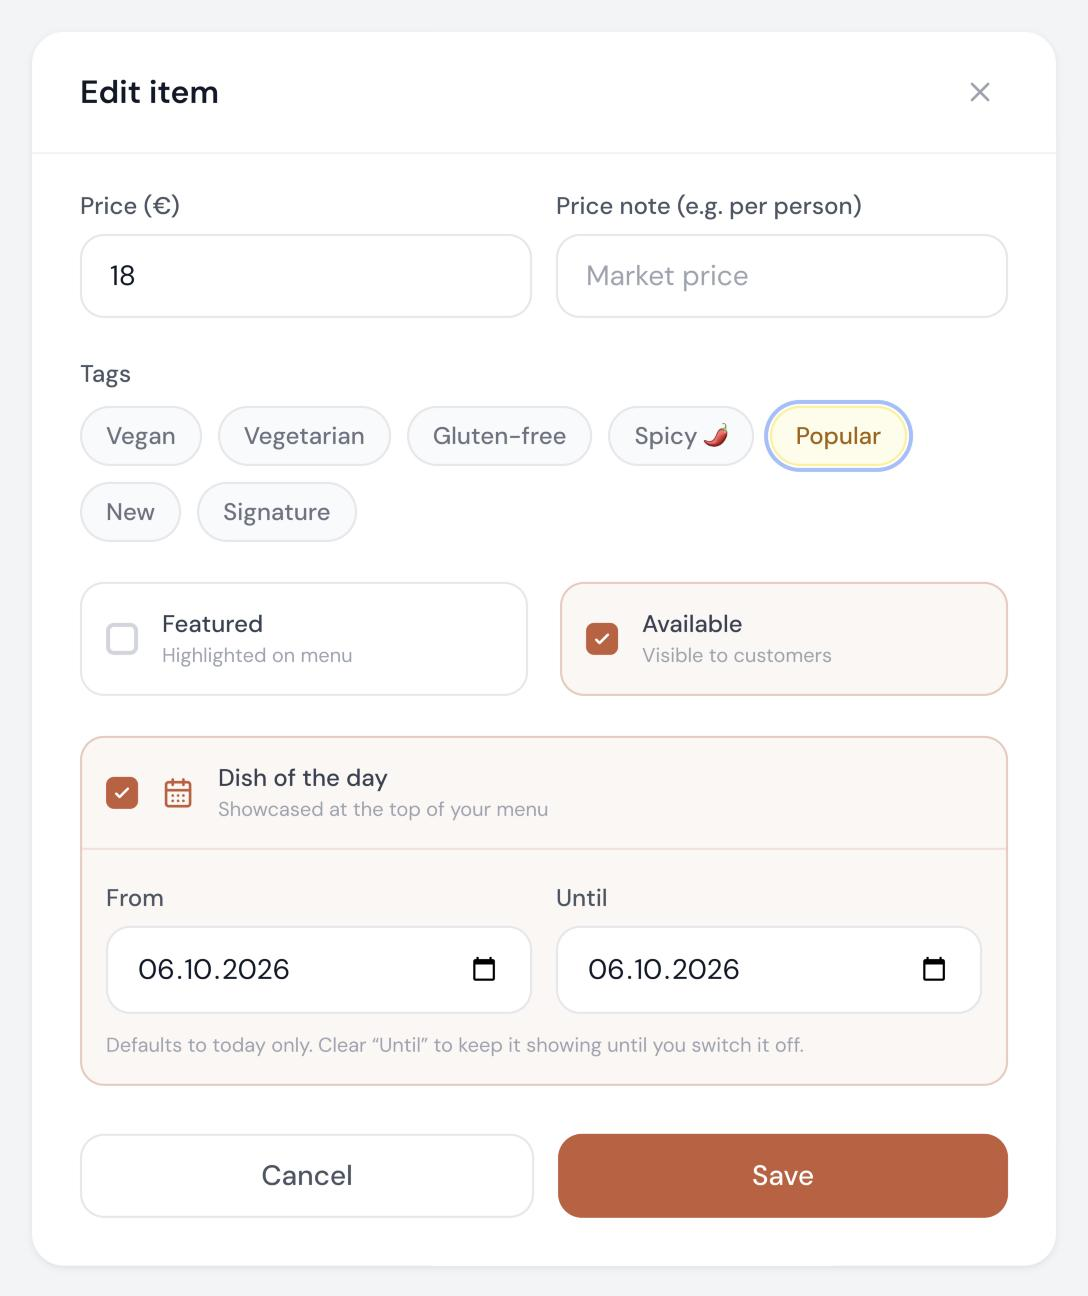
- Toggle "Available" off to mark an item as sold out. It stays on the menu but is clearly marked.
- Mark an item as "Featured" to highlight it.
- Turn on "Dish of the day" to showcase an item at the top of your menu. It defaults to today only; clear the "Until" date to keep it showing until you switch it off.
5Translations & languages
Let tourists read your menu in their own language. Supported languages include English, Greek, German, French, Italian, Spanish, Russian, Arabic and Chinese.
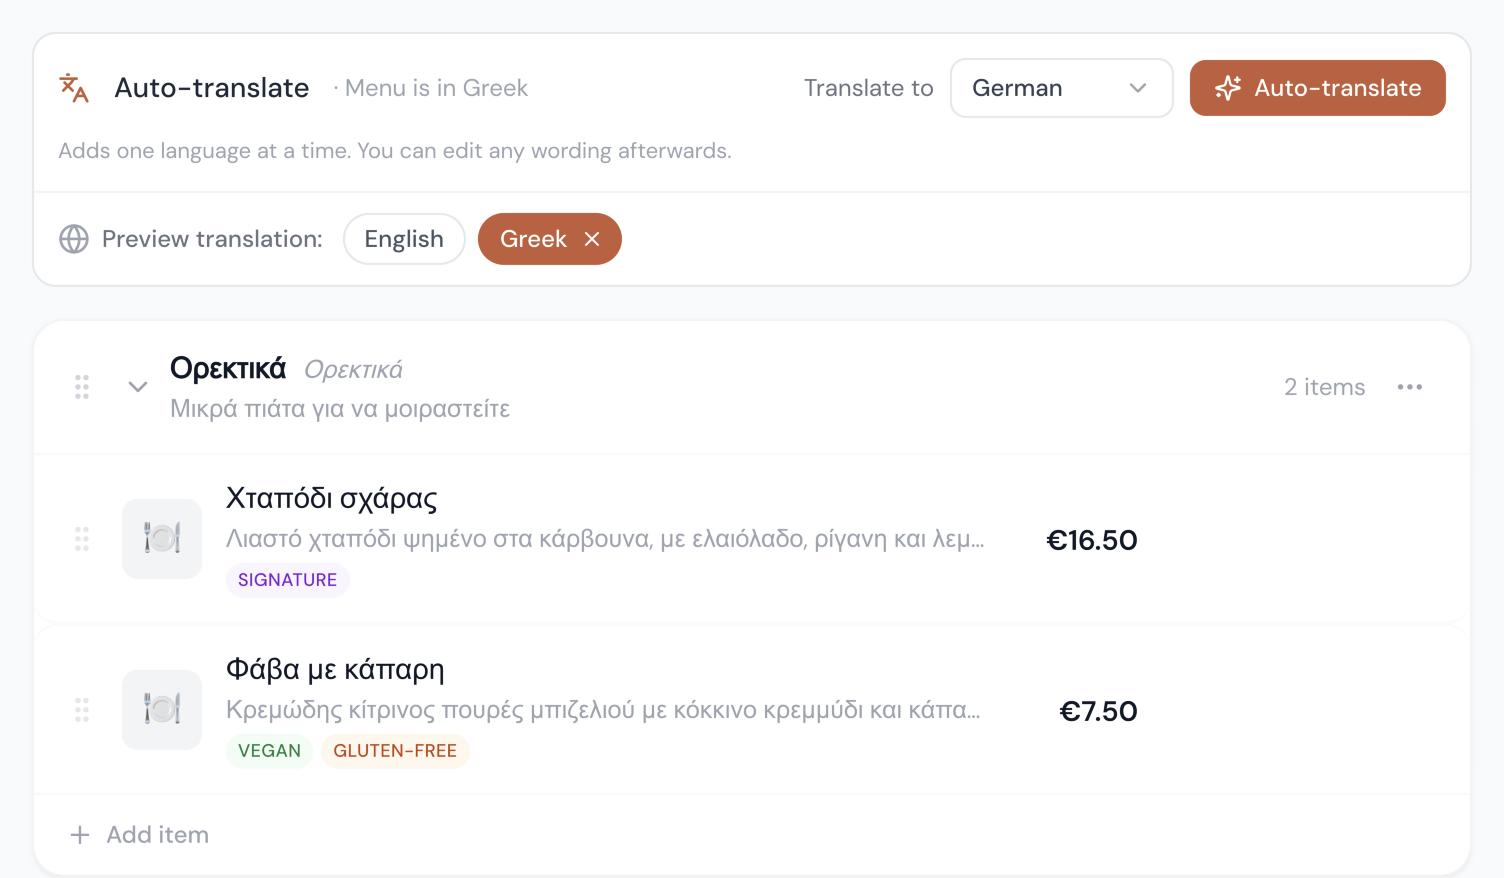
- In the menu editor, use "Auto-translate" to add one language at a time to the whole menu.
- Review the result and tweak any wording — you can also add or edit translations per item from the item editor.
- Guests switch language from the selector on the public menu.
- To remove a language, use "Remove" next to it in the editor.
7Restaurant settings & design
Make the menu yours from "Restaurant settings".
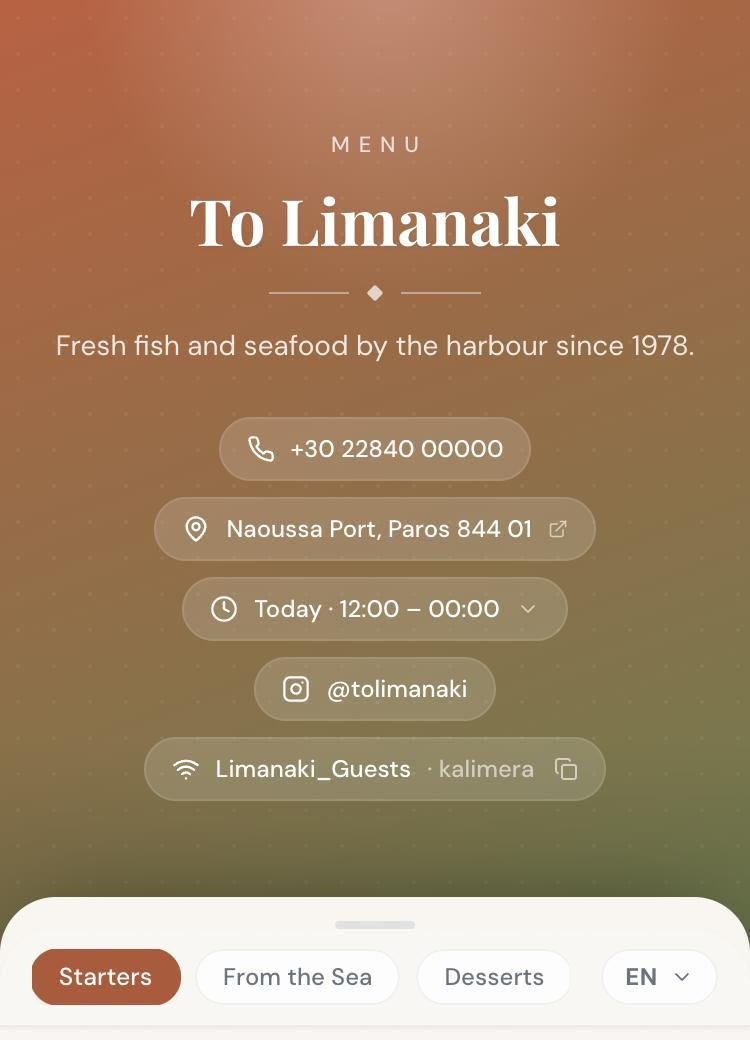
- Contact: phone, email, website, Instagram and address are shown on your menu.
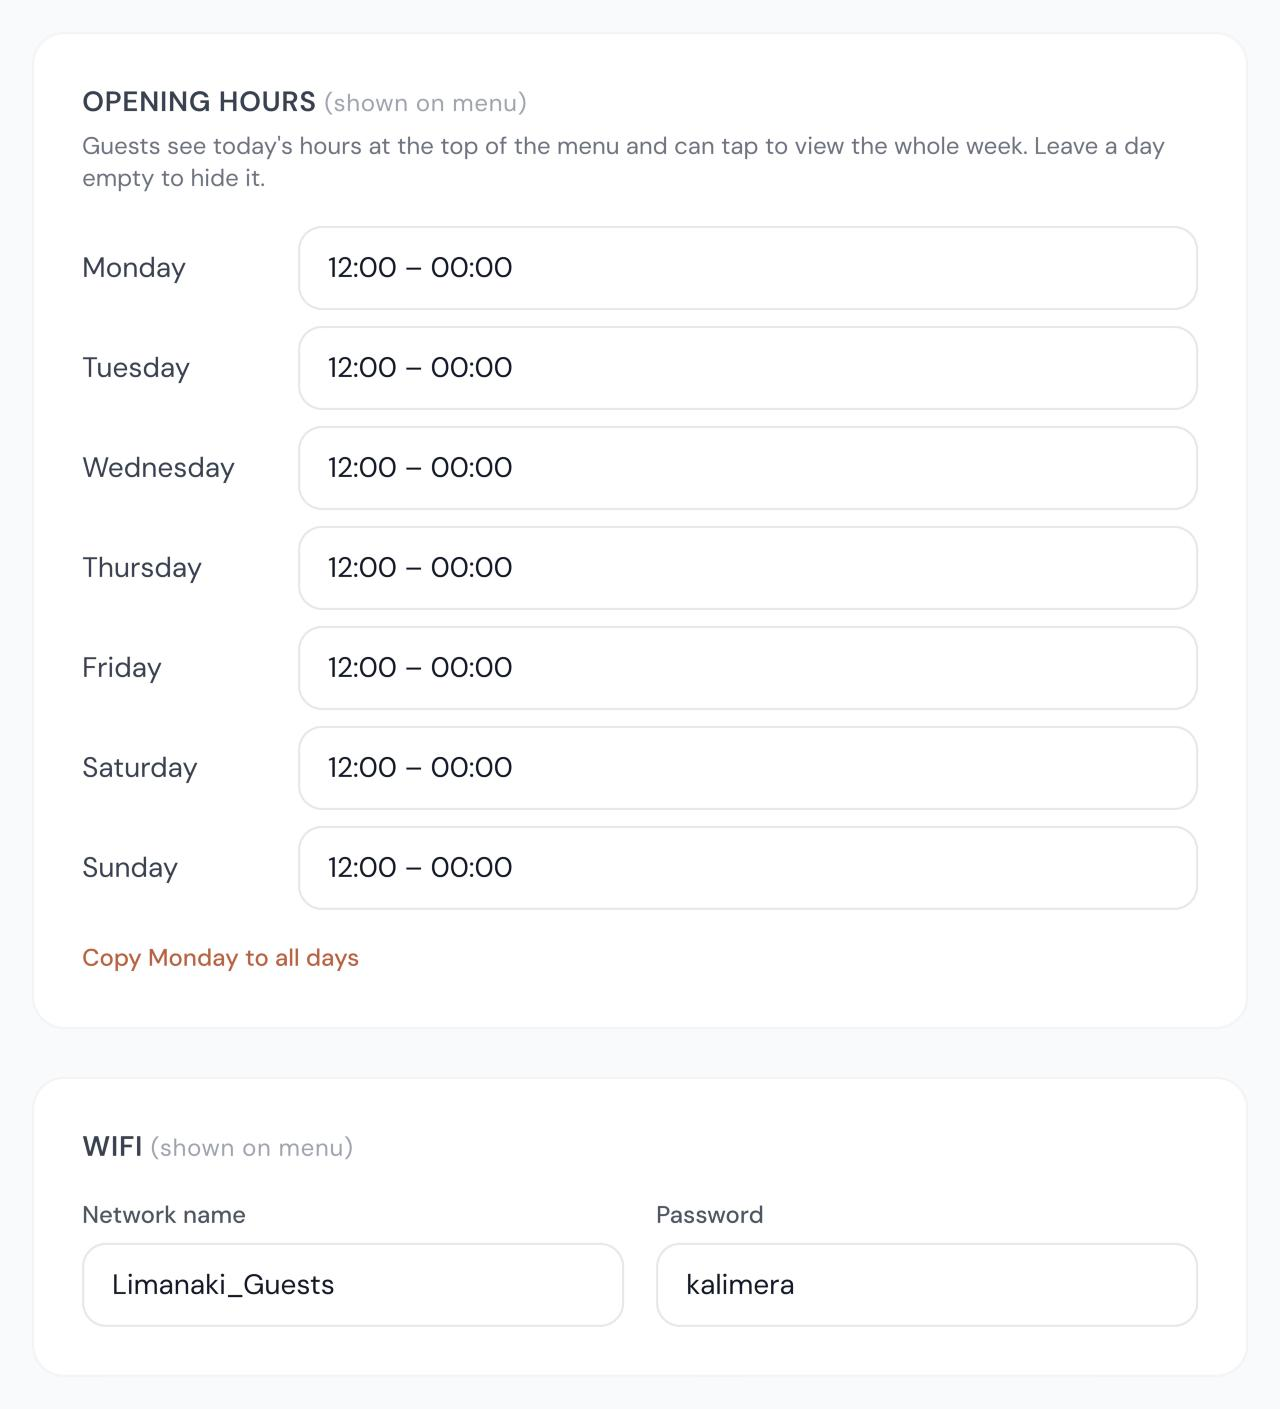
- WiFi: add your network name and password so guests can connect.
- Opening hours: guests see today's hours at the top of the menu and can tap to view the whole week. Leave a day empty to hide it.
- Google review link: adds a "Review us on Google" link to the top of your menu.
- Design: choose a template (Classic, Modern, Elegant, Midnight, Botanical, Sunset), a background pattern and an optional cover image (PNG, JPG or WebP up to 4MB).
8Publishing your menu
New restaurants start as drafts so you can prepare everything in private.
- When you are ready, click "Publish" — the status changes from "Draft" to "Live".
- Any change you make afterwards goes live instantly.
9QR code
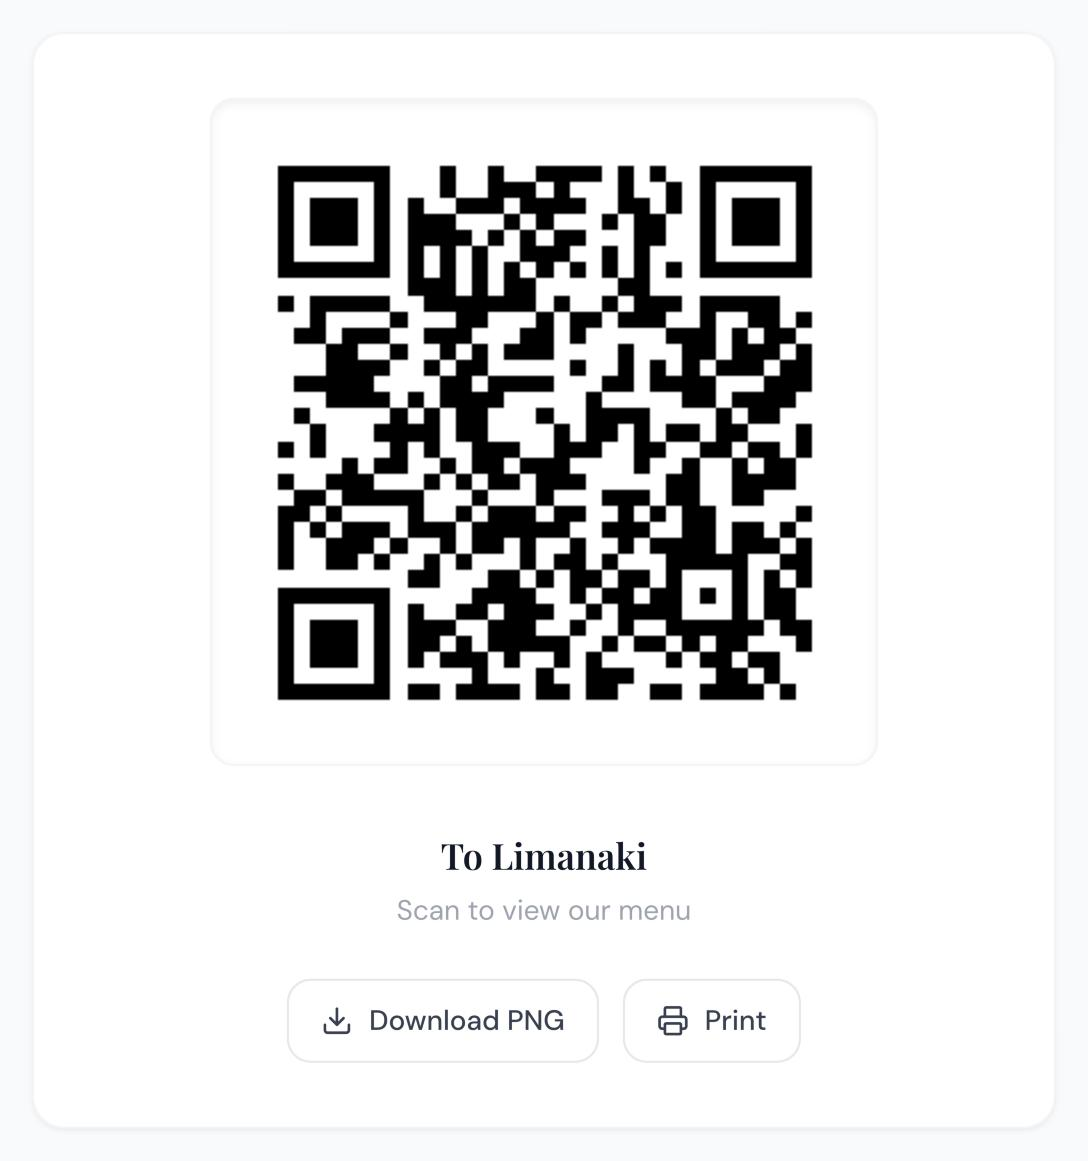
Every restaurant gets its own QR code that opens the public menu.
- Open the restaurant and go to "QR Code".
- Click "Download PNG" to save it, or "Print" to print it directly.
- You can also copy the direct link and share it on Instagram, Google Maps or your website.
Tips
- Print it at least 5×5 cm so it scans easily.
- The QR code never changes when you edit your menu — print it once.
10Analytics
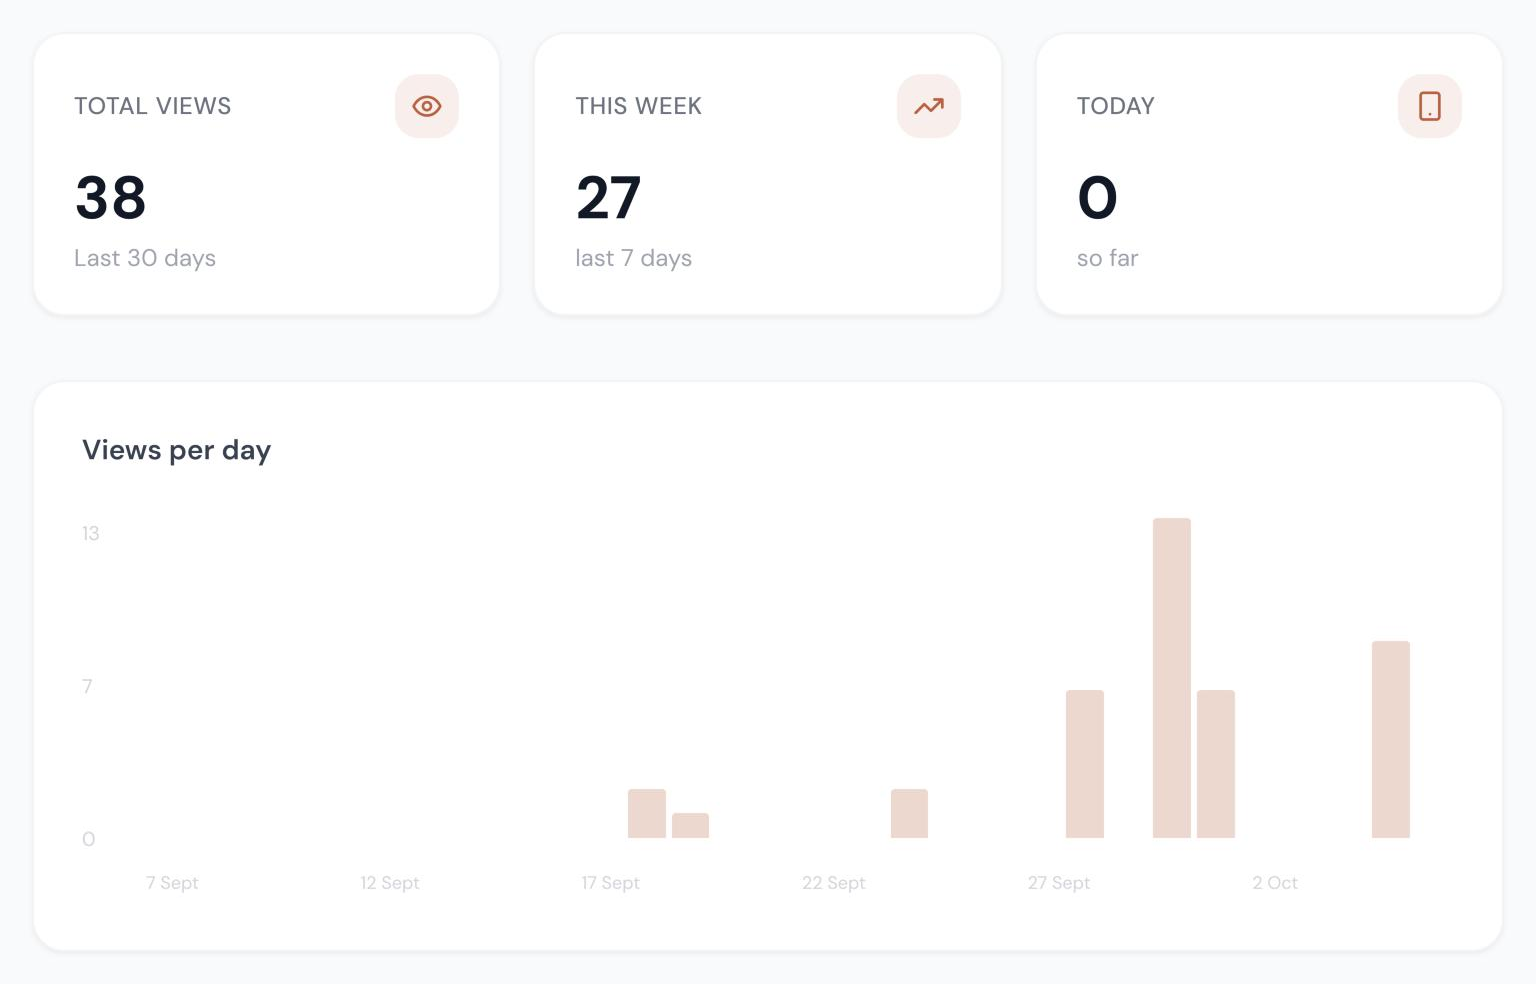
See how many people view your menu over the last 30 days, and where they come from (QR scan, direct link or embedded widget).
11Account & billing
- Update your name or password from "Settings".
- Manage your plan and subscription from "Billing".
- You can permanently delete your account from "Settings" → "Delete Account".
Still need help?
Can't find what you're looking for? Send us a message and we'll get back to you.